Jan Tytgat
Monday, September 9, 2024
Deploying NetScaler VPX on Proxmox VE
Table of Contents
History
| Date | Changes |
|---|---|
| 2024/09/09 | Initial publication |
| 2024/09/12 | Added informational message about memory requirements. (thanks Morten Kallesøe) |
| 2024/09/12 | Added information message about cpu requirements. |
Introduction
There is a lot of information available in the official NetScaler VPX deployment documentation. However, one hypervisor in specific is missing: Proxmox.
This guide aims to give you an overview on how to deploy a NetScaler VPX instance on your favourite hypervisor.
Deployment
Create an “empty” virtual machine
Start creating a new virtual machine by following the steps below.
General
- Fill out the VM ID and Name

- Click next
- Fill out the VM ID and Name
OS
- Select “Do not use any media”
- Set the guest OS to “Other”
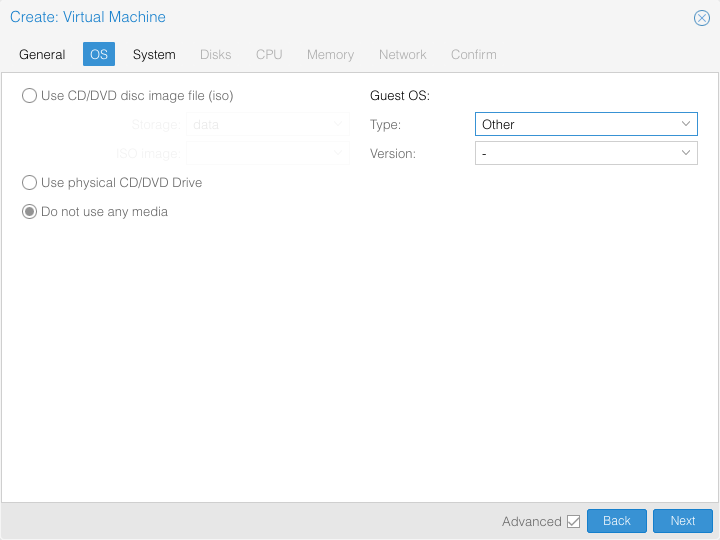
- Click next
System
- Set graphics card to “VirtIO-GPU”
- Set machine to “q35”
- Set SCSI controller to “VirtIO SCSI single”
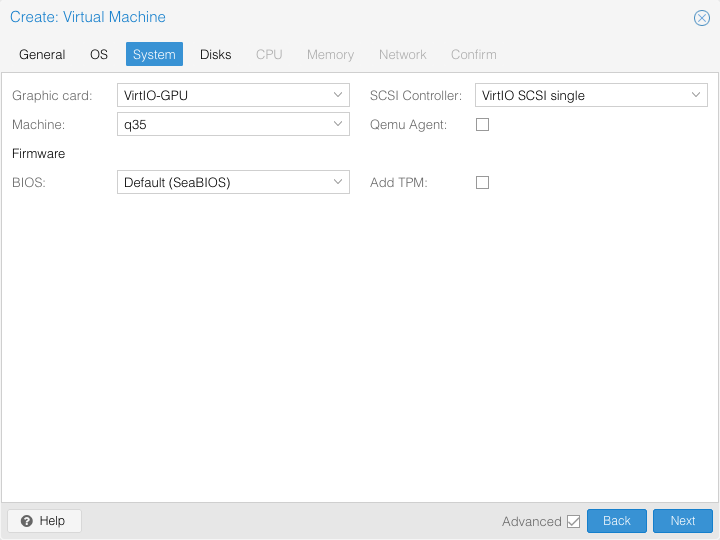
- Click next
Disks
- Remove disk “ide0” by clicking the recycle bin icon
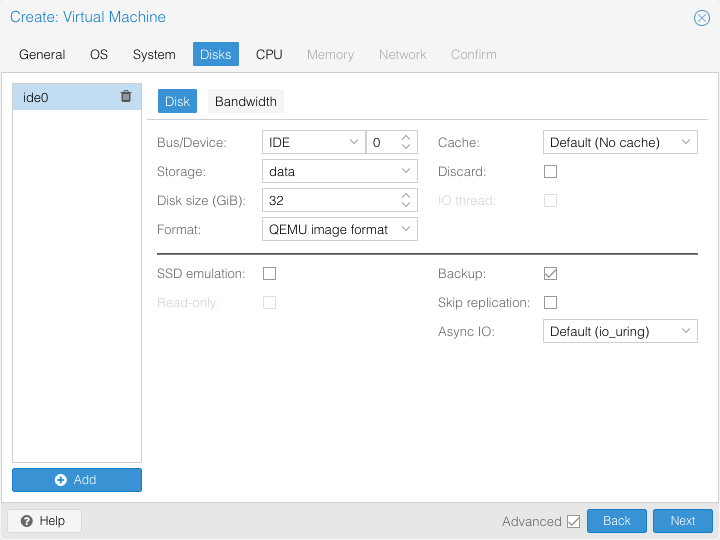
- Click next

- Remove disk “ide0” by clicking the recycle bin icon
CPU
- Increase “cores” to 2The minimum amount of vCPU is 2, increase when necessary for your deployment.
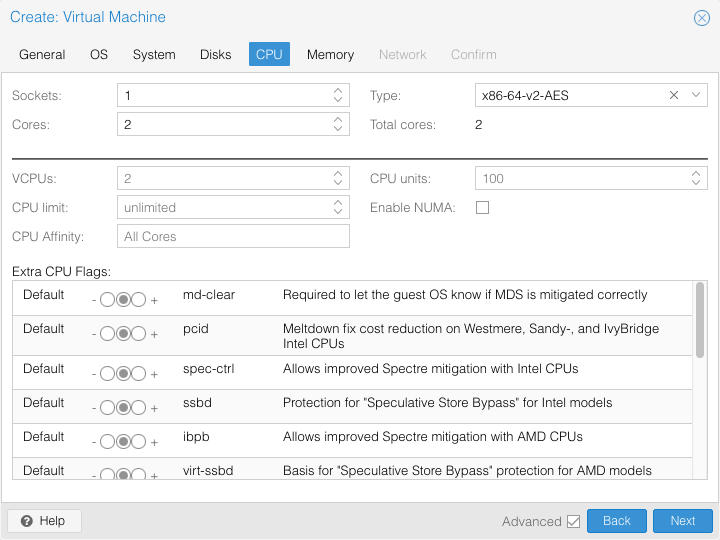
- Click next
- Increase “cores” to 2
Memory
- Set memory to “4096” MiBThe minimally required memory is 2048MB per vCPU.
For optimal performance, it is advised to configure at least 4096MB of memory for each vCPU.
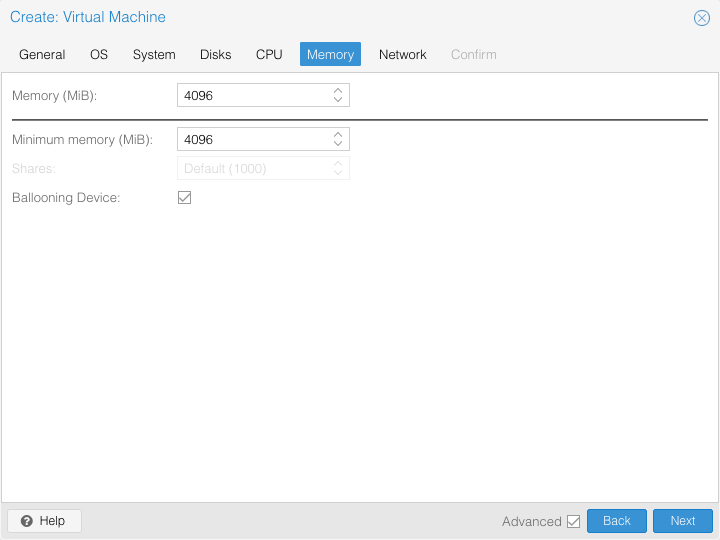
- Click next
- Set memory to “4096” MiB
Network
- Select the bridge on which you want to configure the NSIP address.
It’s best practice to not have any data traffic run over NetScaler interface 0/1.
You can always add another network interface later is required.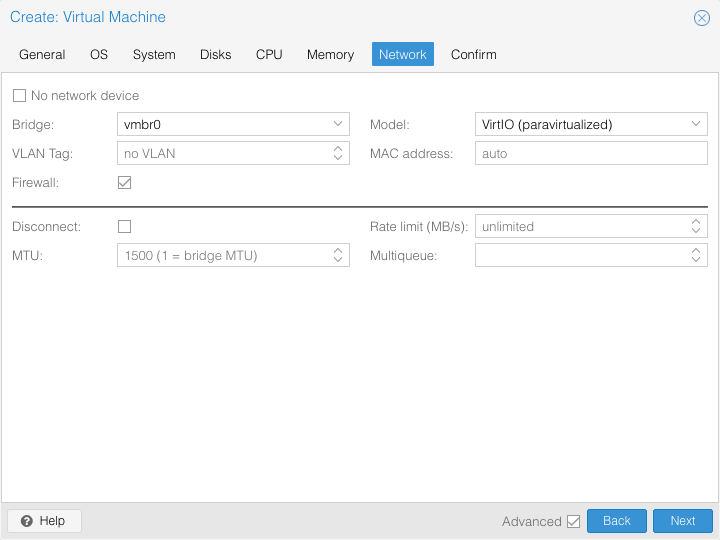
- Select the bridge on which you want to configure the NSIP address.
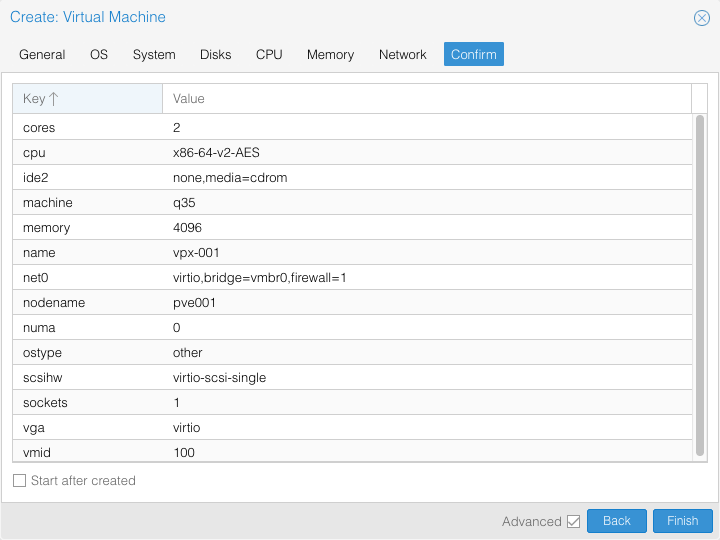
Confirm
- Leave the “Start after created” checkbox unchecked
- Click next
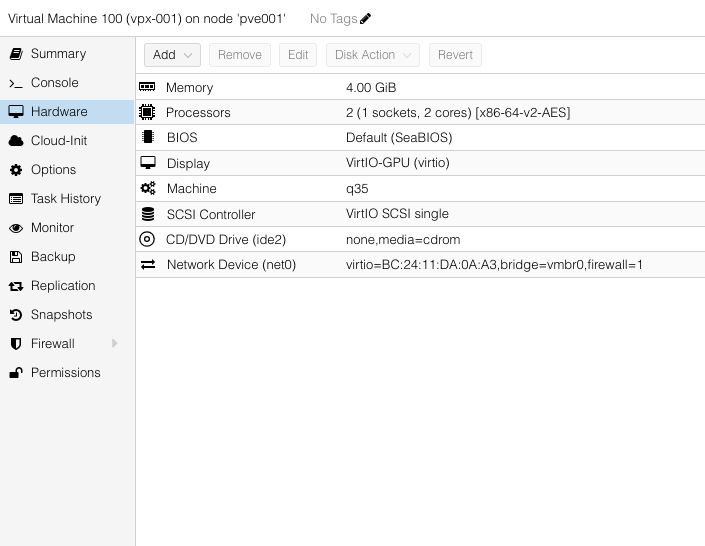
Modify hardware
Now that the virtual machine has been created, it’s time to modify some parameters.
NetScaler VPX requires a serial port to boot, and of course we still need to add the virtual disk to the machine.
Serial port
Go to the hardware tab of the virtual machine
Click the “add” button and select “Serial port”
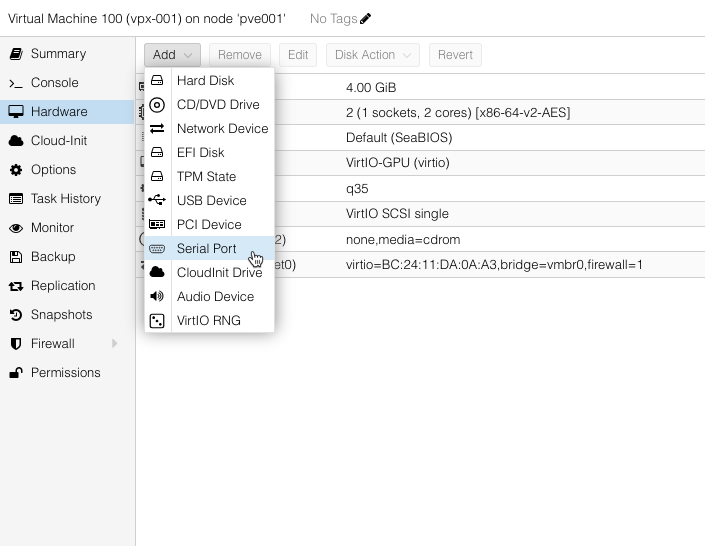
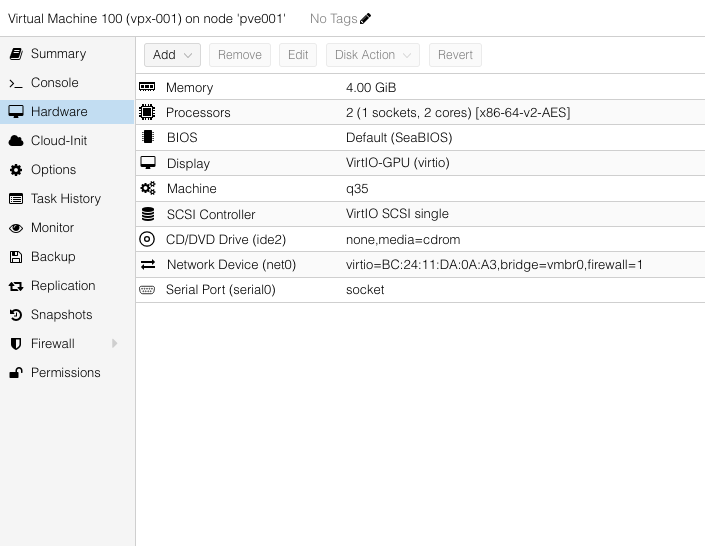
Leave the value for the serial port ID at the default value and click OK.
Hard disk
Open a shell to the Proxmox host, either through a terminal or via the GUI.
Navigate to the folder where you uploaded the disk image for NetScaler VPX.
Run the following command:
qm disk import <vm id> <filename> <storage name> --format qcow2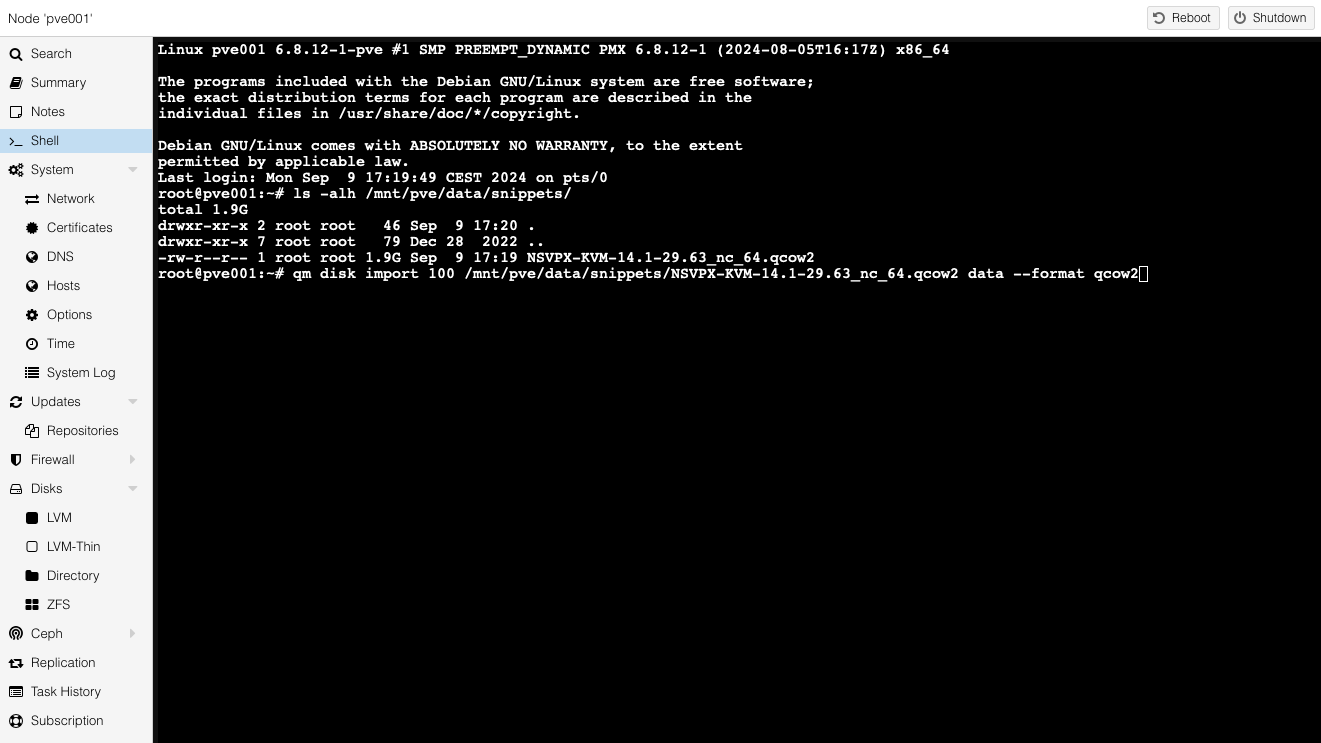
The command will copy the disk to the storage selected.
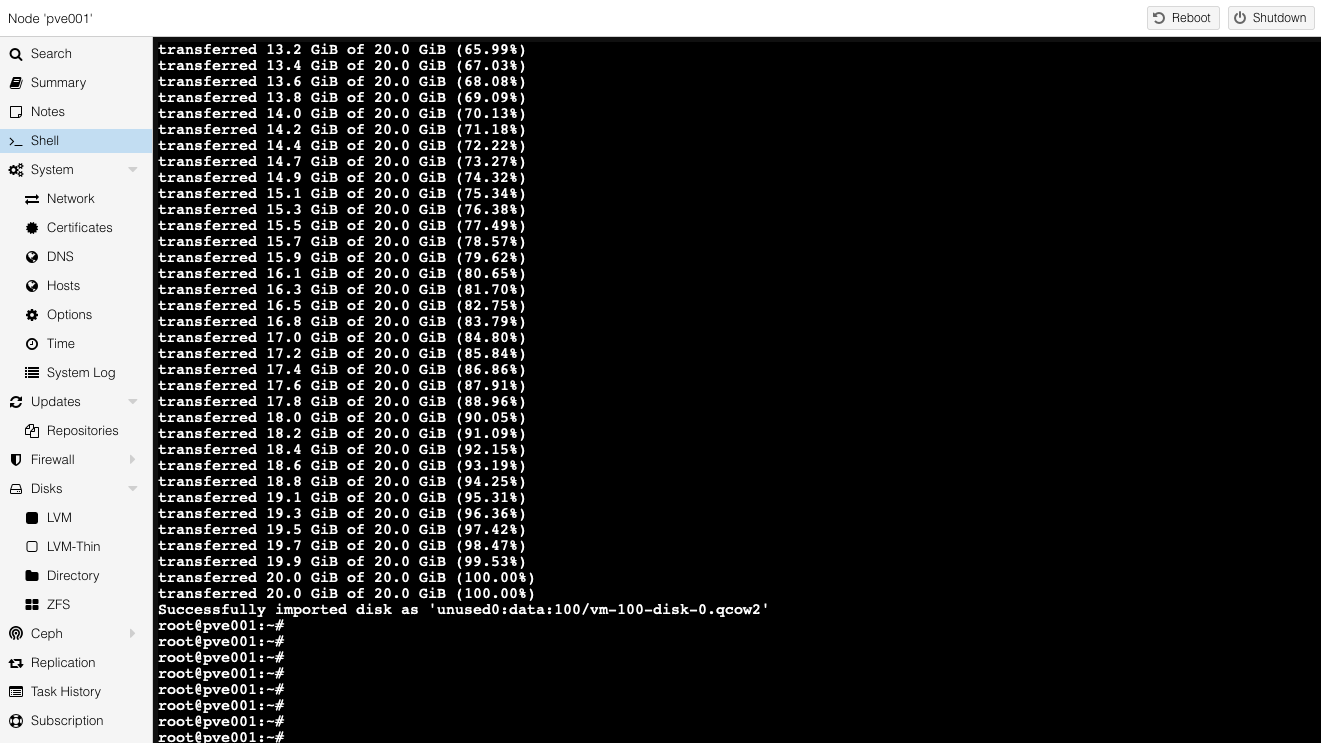
When completed, the disk will show up as unused in the hardware details of the virtual machine.
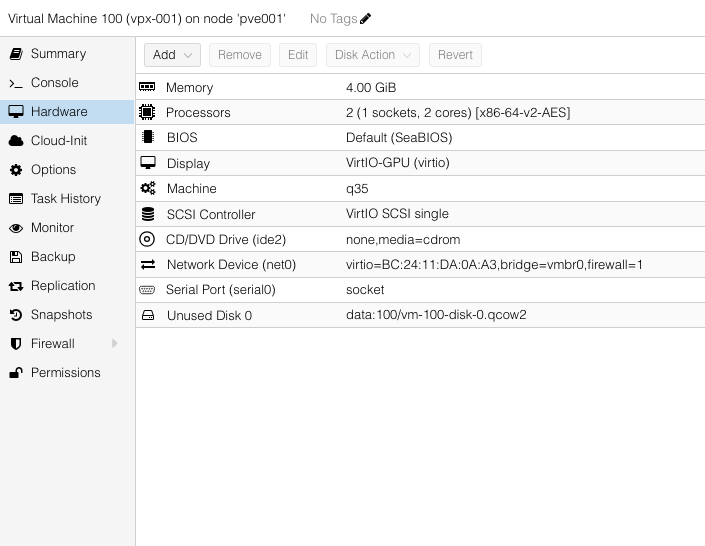
Double-click on the unused disk
Make sure the “bus/device” is set to “VirtIO Block” Click “add”
Result: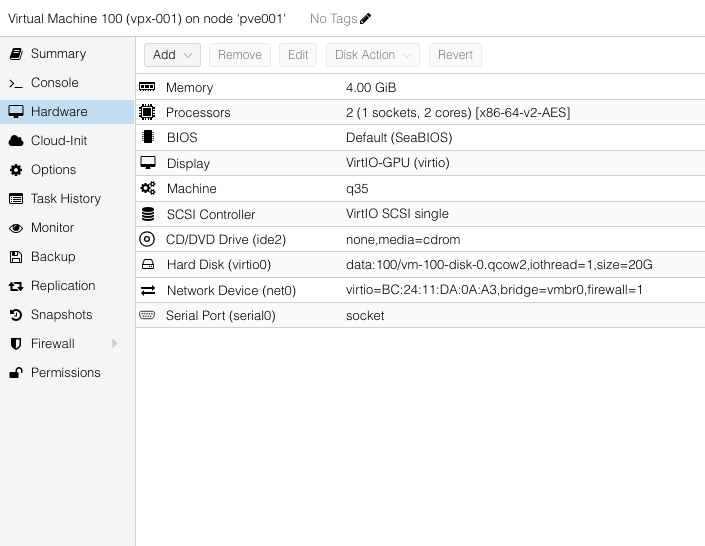
Increase hard disk size
NetScaler VPX ships with a default disk of 20GB. This often leads to the annoying situation of limited disk space when updating the appliance to a later build, requiring (extensive) cleanup. We’ve all been in the situation where we have to remove all previous builds or even cleanup logging in /var/nslog to free up enough disk space.
As of NetScaler releae 14.1 build 21.x. you can dynamically increase the size of your hard disk to accomodate more data.
- Go to the hardware tab of the virtual machine:
Select the current hard disk
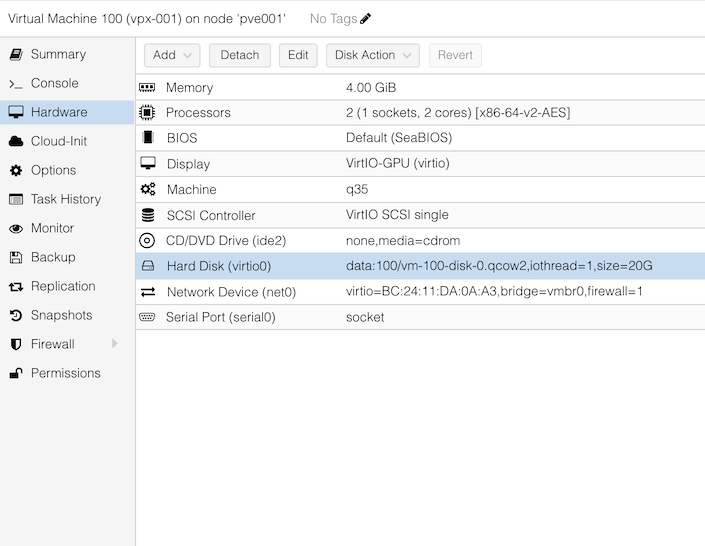
Click on “Disk Action”, then “Resize”

Enter the value for the increment size
(For example, enter 30 to increase the disk size from 20GiB to 50GiB)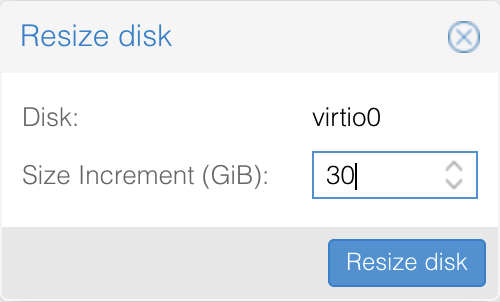
Result:

Add a secondary hard disk
To further optimise NetScaler VPX storage, it is also possible to add a secondary hard disk, which will be used to store core files and logging.
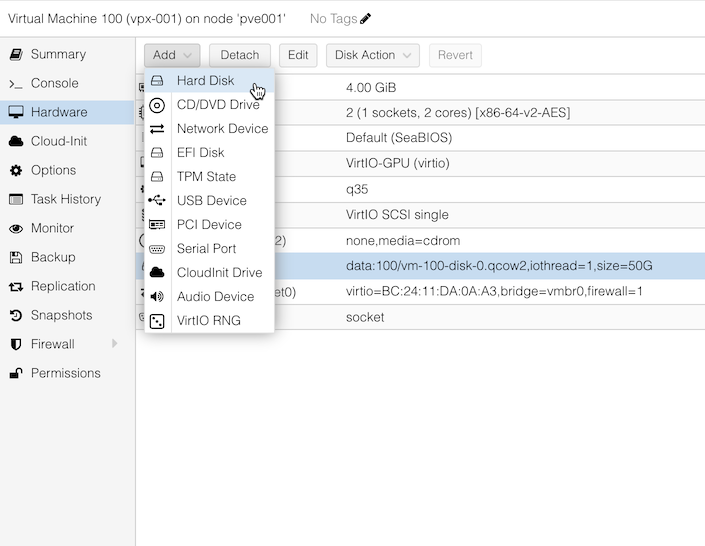
Go to the hardware tab of the virtual machine:
Click “Add”, then “Hard disk”
Configure new hard disk
- Set “Bus/Device” to “VirtIO Block”
- Set “Storage” to the same storage location as the primary hard disk
- Set “Disk Size” to 50GiB
- Set “Format” to “qcow2”
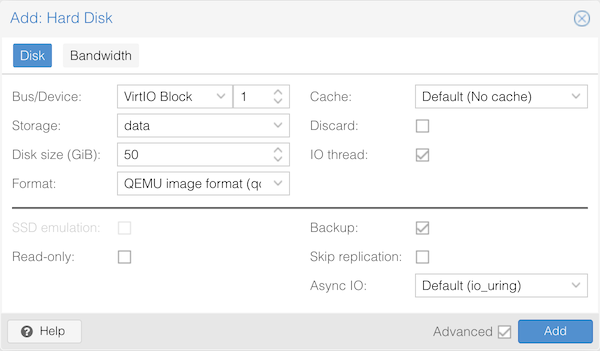
- Click “Add”
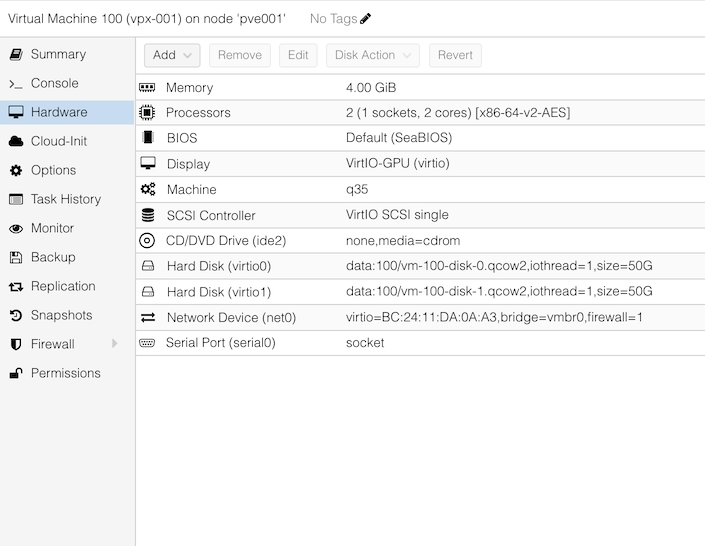
Result:
Modify options
- Boot order
Go to virtual machine options
Select “Boot order”
Click editEnable virtio0
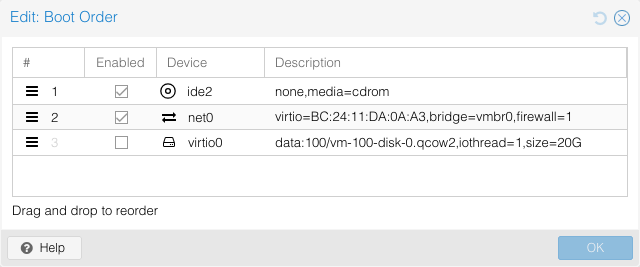
Drag virtio0 to the top
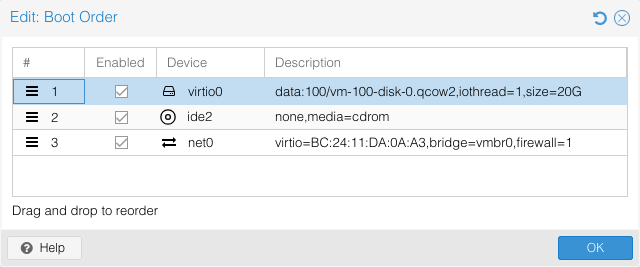
Click ok
Result: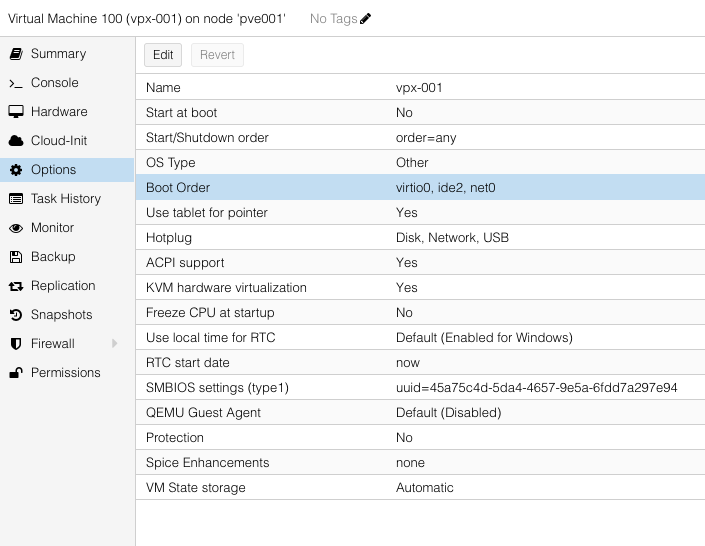
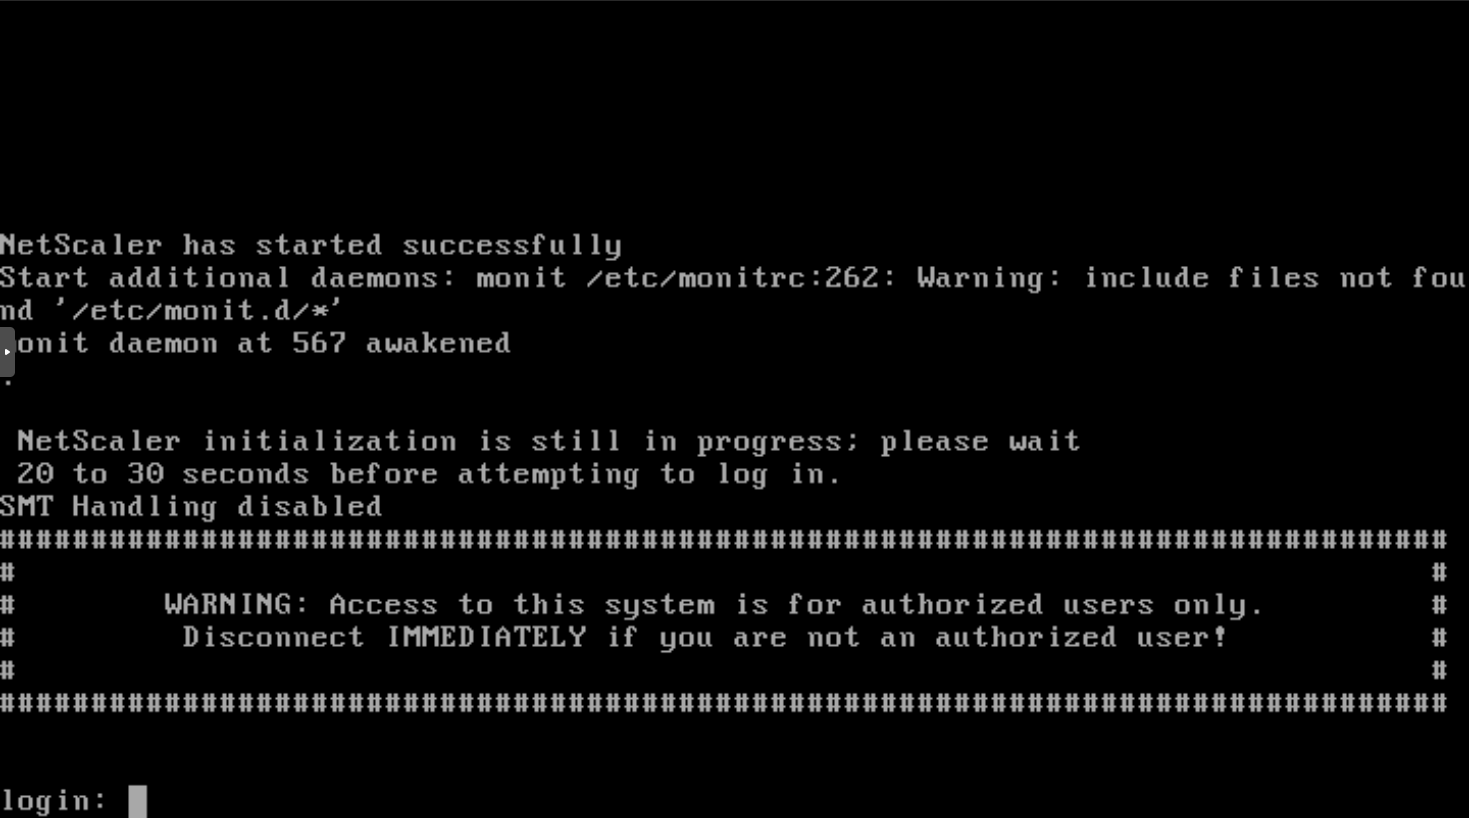
Convert to template
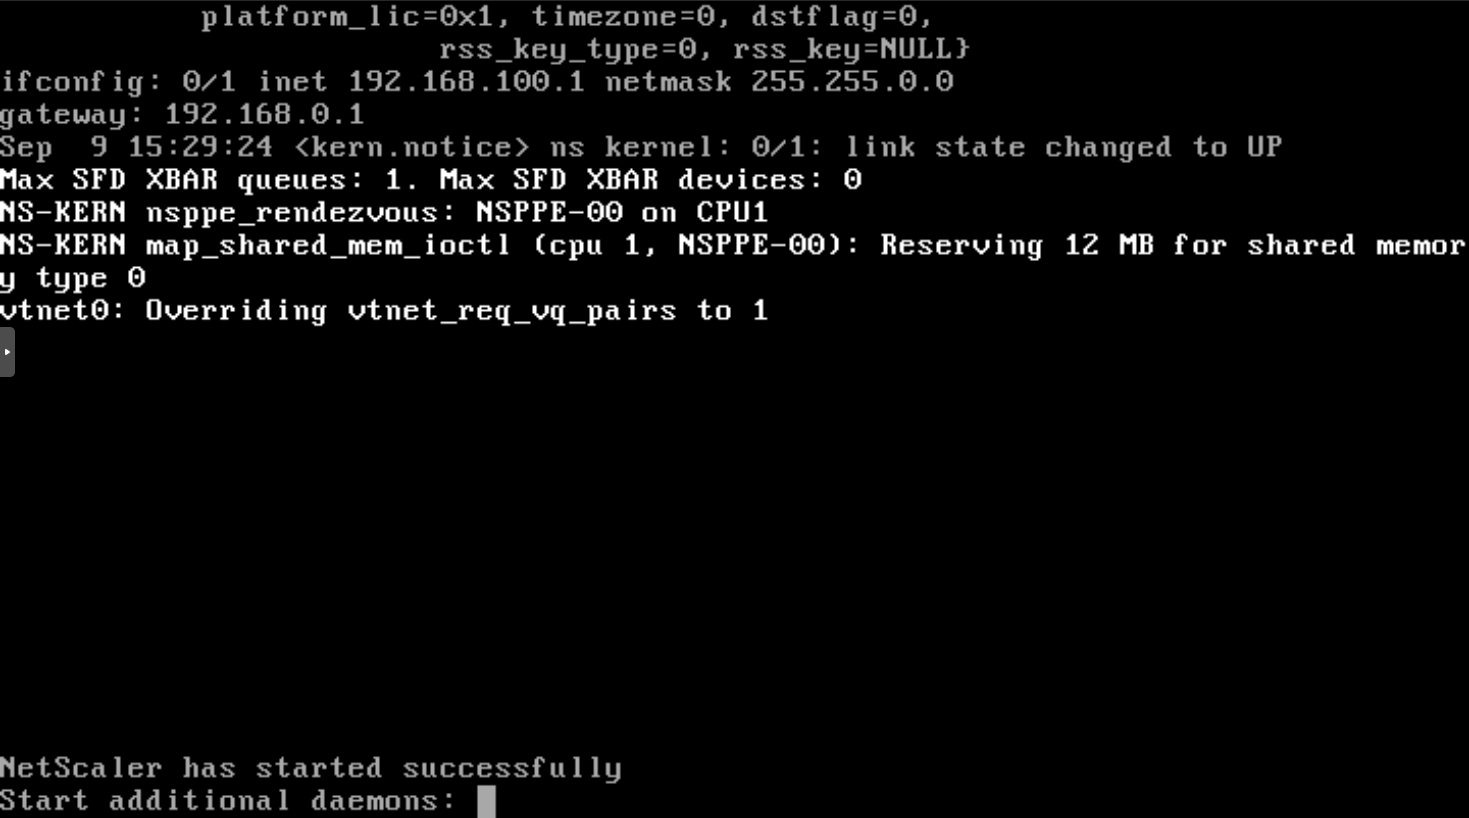
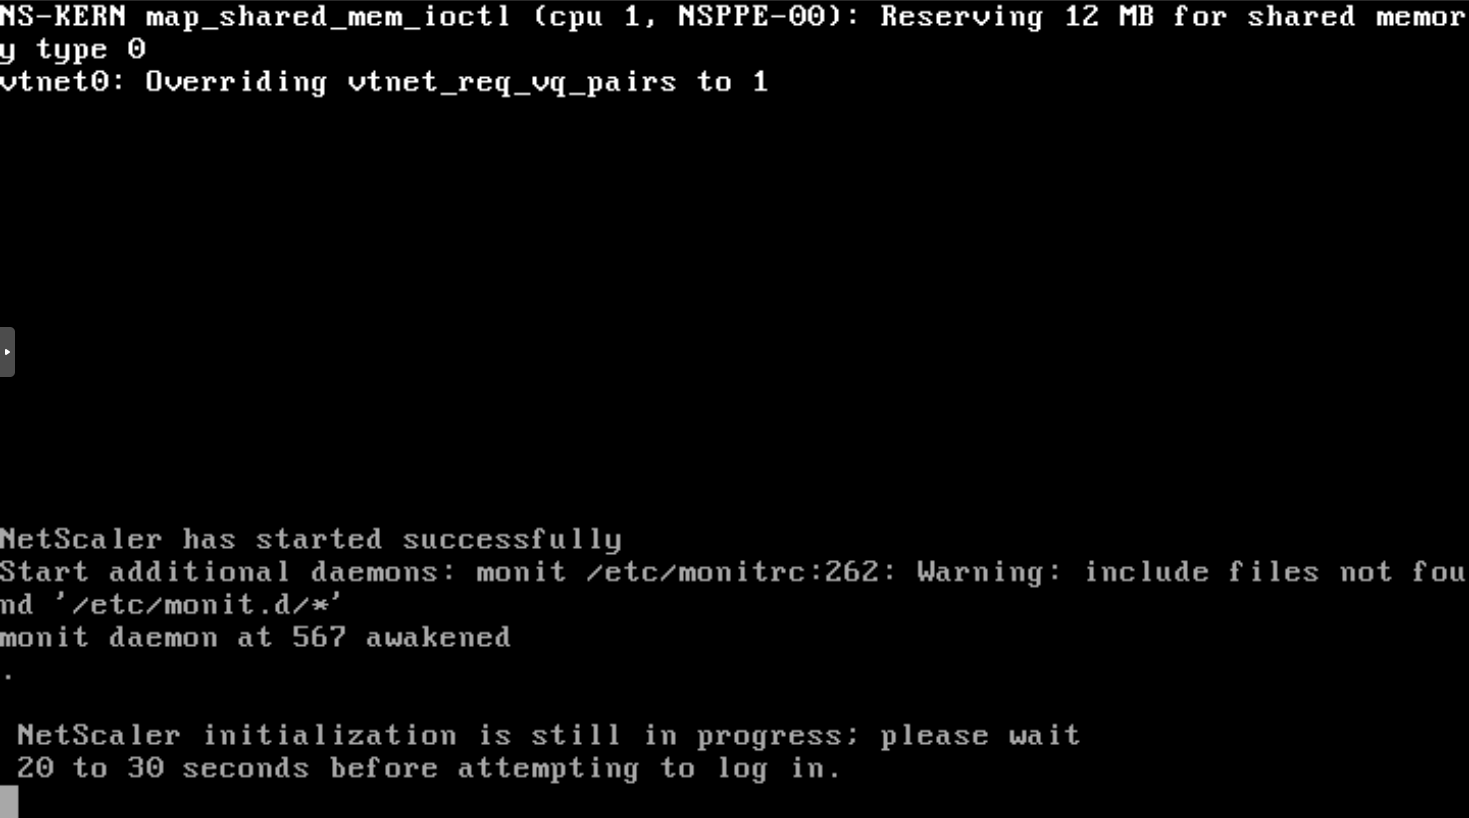
Startup
If you are happy with the current settings, it’s time to boot the virtual machine.